Sustain Pedals on the Cheap
A simple sustain pedal can run upwards of $20, and it’s just a footswitch! Ever wonder why music equipment is so expensive?
A simple sustain pedal can run upwards of $20, and it’s just a footswitch! Ever wonder why music equipment is so expensive?
Unfortunately, I don’t have an answer for you- this isn’t an economics blog, after all- but I do have some tips for fleshing out your gear collection on a budget.
I’ve been doing some DIY music electronics things for a few months now (much of which I’ve yet to blog about), so I’ll kick things off with a fairly simple mod: building your very own MIDI sustain pedal from reclaimed parts.
Some Background
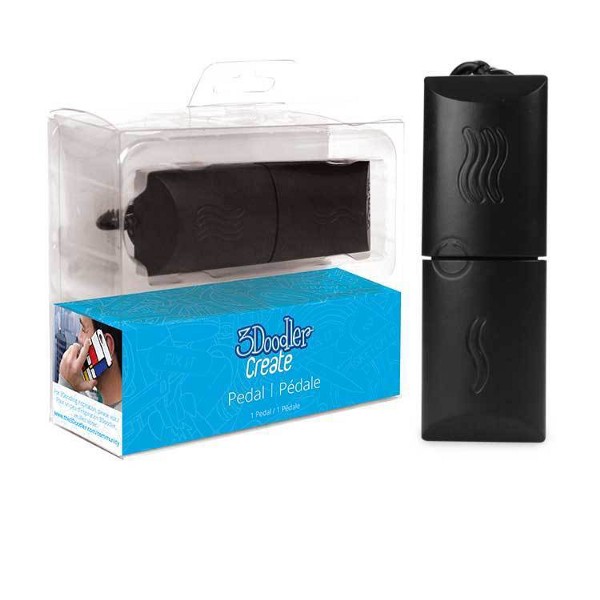
Several months ago I was hanging around Michaels when I noticed that they were having an absolutely massive sale on 3Doodler Foot Pedals,which had been priced down to less than $10.
I immediately knew what I had to do.
The Build
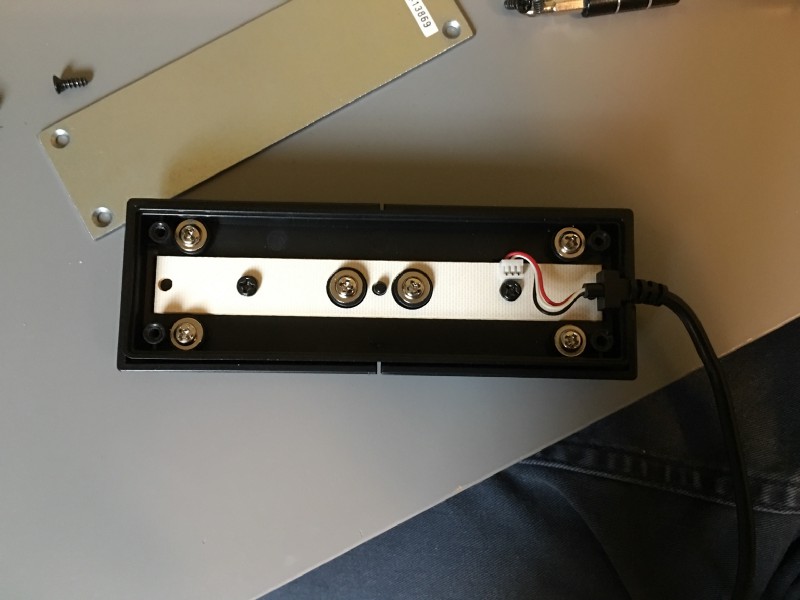
The first order of business is to crack this sucker open. Removing the 4 screws on the bottom of the enclosure reveals a white PCB along with the pedal assembly.
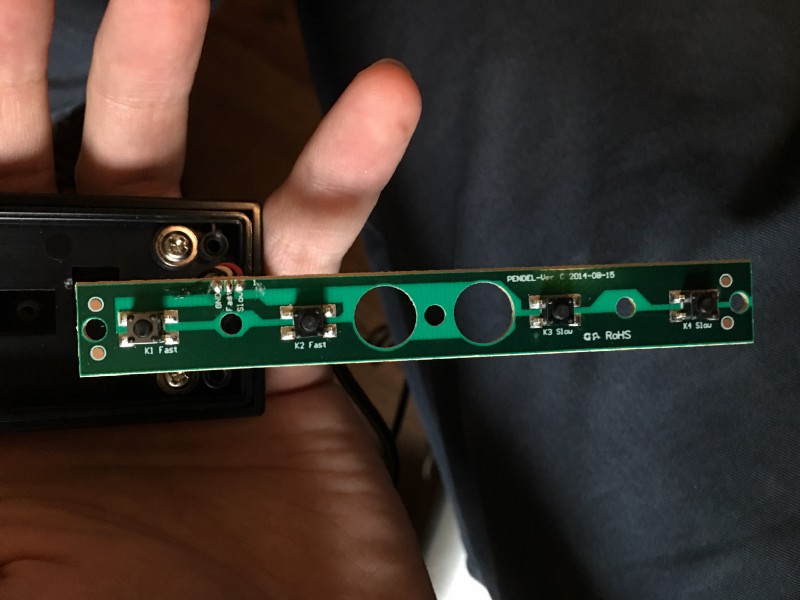
After disconnecting the signal cable and un-screwing the board, we can see that there are 4 momentary button-type switches on the other side. Each respective pair is wired in series: the pair labeled “fast” is connected to the white wire, and the “slow” pair is connected to the red wire. They share a common ground (black).
As far as sustain pedals are concerned, though, there’s only one type of signal- on or off. For our purposes, we’ll be bridging both sides together in series to create one large pedal later on.

To do that, we’ll begin by cutting off the proprietary connector at the end of the pedal’s cable. Doing so will expose the three wires we found earlier within.
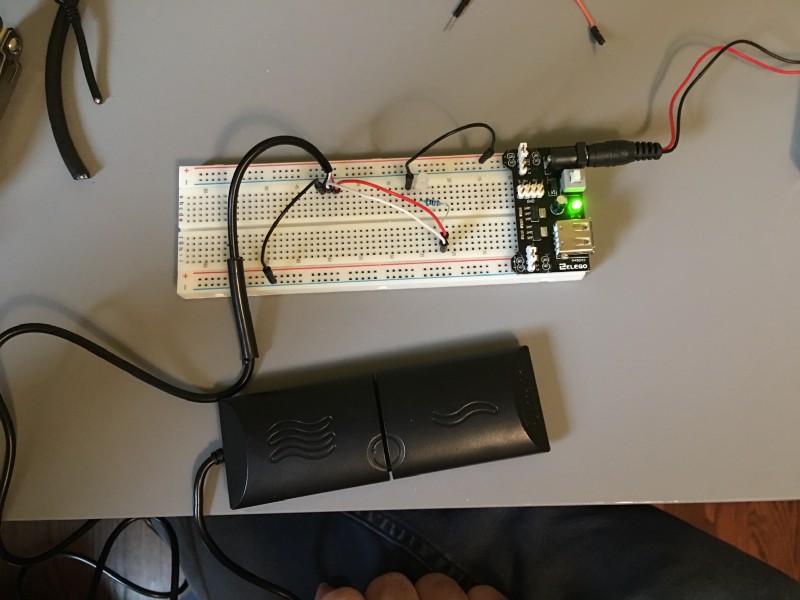
We can now start wiring up a small test: Here, I’ve connected both the “fast” and “slow” outputs of the pedal in series with a small current-limiting resistor, which is connected to an LED’s cathode (negative lead).
This should allow us to light the LED by pressing down on either side of the pedal:
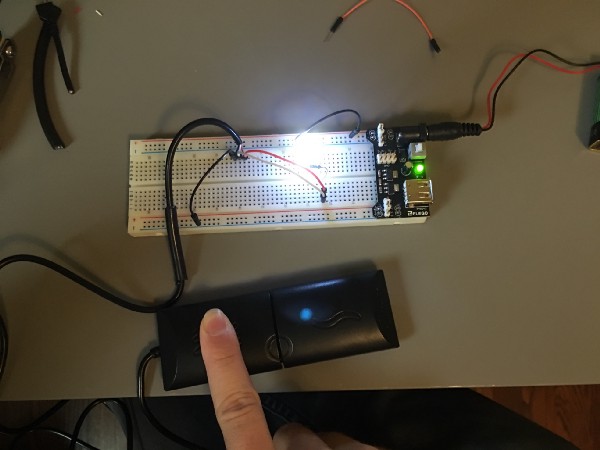
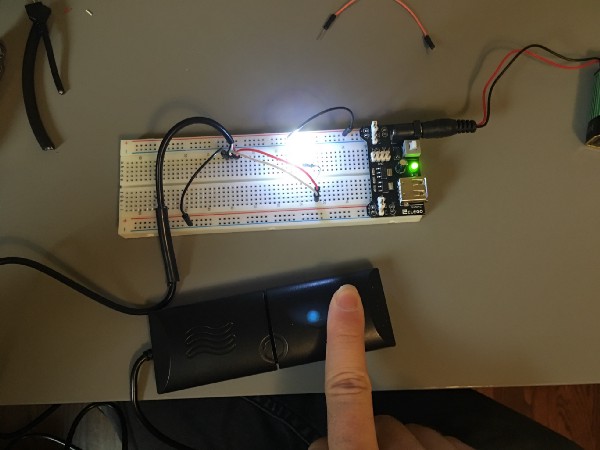
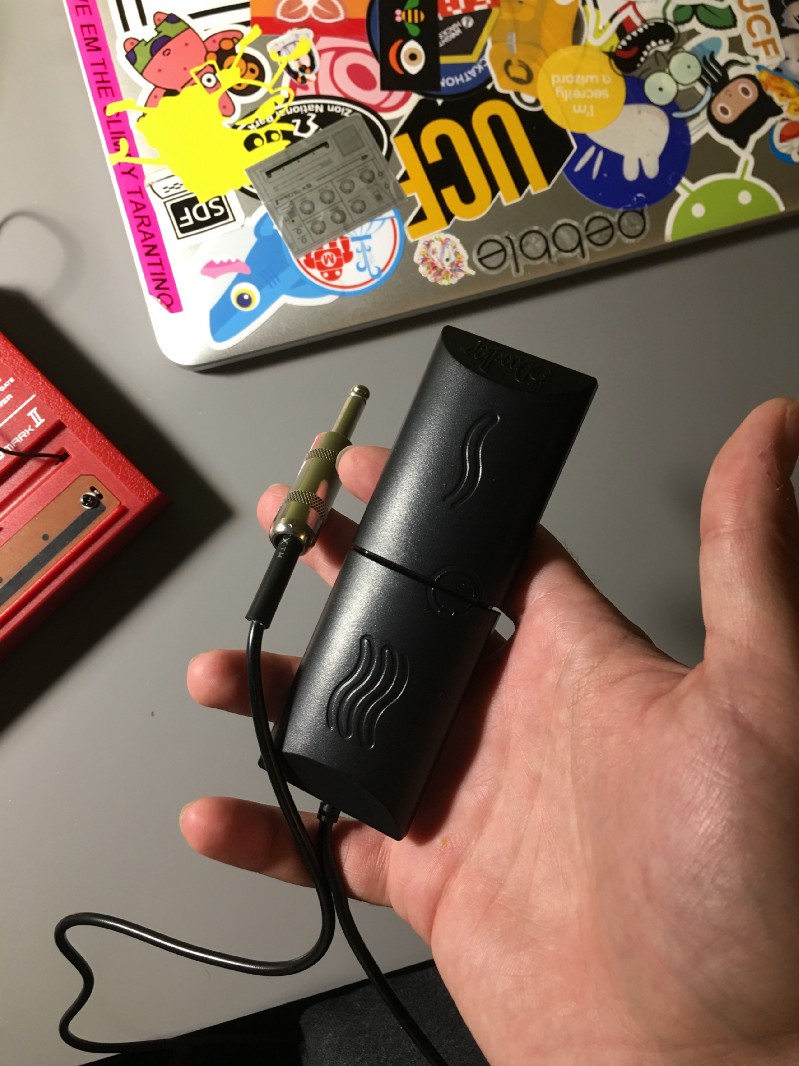
Seems to work! All that’s left is to wire up a 1/4" TS barrel plug, and we should be all set.
If you’ve never soldered up a 1/4" barrel plug before, don’t fret! It’s a pretty easy process.
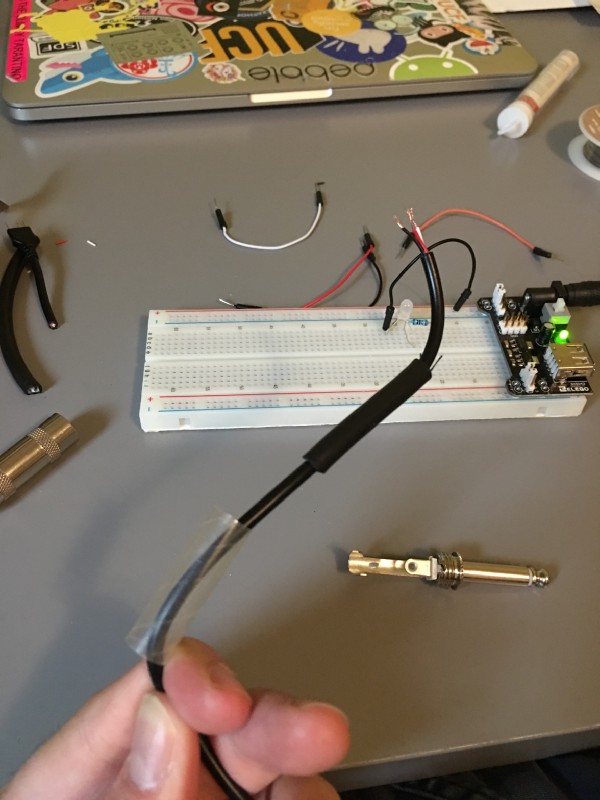
Here, I’ve stripped a bit of insulation off the end of the pedal’s signal cable, to expose each wire inside. I’ve also stripped each of those to get a bit of copper for soldering.
I’ve also taken the liberty of adding a bit of rubber insulation from the old guitar cable I cannibalized the barrel connector from. I did this to add some extra strain relief on the connection, but you don’t necessarily need to.
You’ll also notice that, in my infinite wisdom, **I forgot to put on the metal casing for the jack before taking this photo!**The proper order here is spare insulation first, then the metal casing, and finally the inner plastic shielding. If you don’t get this right before soldering everything up, you’ll have to redo everything to get stuff onto the wire (which totally sucks).
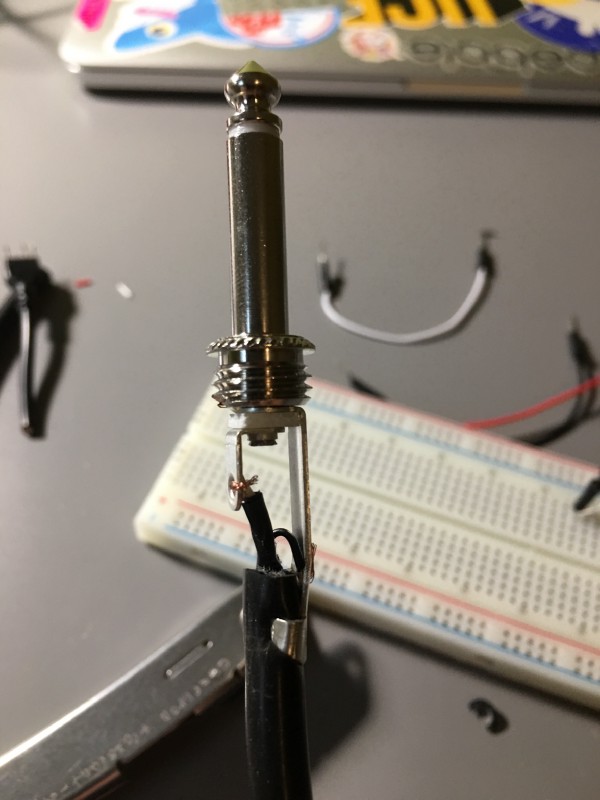
After all of that’s in order, you can go ahead and get your wires in the right spots.
Twist the ends of the “fast” and “slow” leads (red and white) together, and twist that around the hole on the middle contact on the jack. Next, connect the black wire (ground) to the corresponding hole on the outer contact. After that, dab a little solder onto each of those contacts to make a solid connection.
Finally, crimp down the little clamps on the very end of the connector to hold the wire in place. Note that if you’re not using an extra bit of insulation around the normal signal line, you might need to take care not to accidentally sever the cable.
After screwing everything back together: You have finally succeeded in building your very own DIY sustain pedal, and you can celebrate this triumph over the music equipment industry by making some sick tunes.
Enjoy!