Yubikeys & PKI: What Are They For?
A deep dive into PKCS11, GPG, and Yubikeys
I often notice some misunderstanding of the purpose and capabilities of Yubikeys in online discussions. In my experience, the conversation tends to focus on their use with FIDO/Webauthn and SSH authentication with PGP. While these are definitely useful applications for Yubikeys and other security keys of their ilk, they have a wider range of other advanced features as well.
This post aims to foster a stronger understanding of the full range of Yubikeys’ and smartcards’ capabilities, since there are some really exciting possibilities presented by their applications. Even if you’re not interested in everything, this information should provide context to learn more about the specific areas that catch your attention.
I’m assuming some familiarity with PKI and cryptographic standards and protocols. Where possible, I’ve included a brief explanation of what these are and how they’re used, along with a glossary of terminology with links to further reading to help fill in the gaps.
Index
- Preface
- What are Yubikeys?
- Why Yubikeys (or any Security Key)?
- YubiKey Features
- PKI
- Using PIV
- Using PGP
- Full-Disk Encryption
- FIDO/U2F/Webauthn
- TOTP, OTP, And More
- Device Configuration Tools
- Yubikey SDK
- Further Reading
- Glossary
Preface
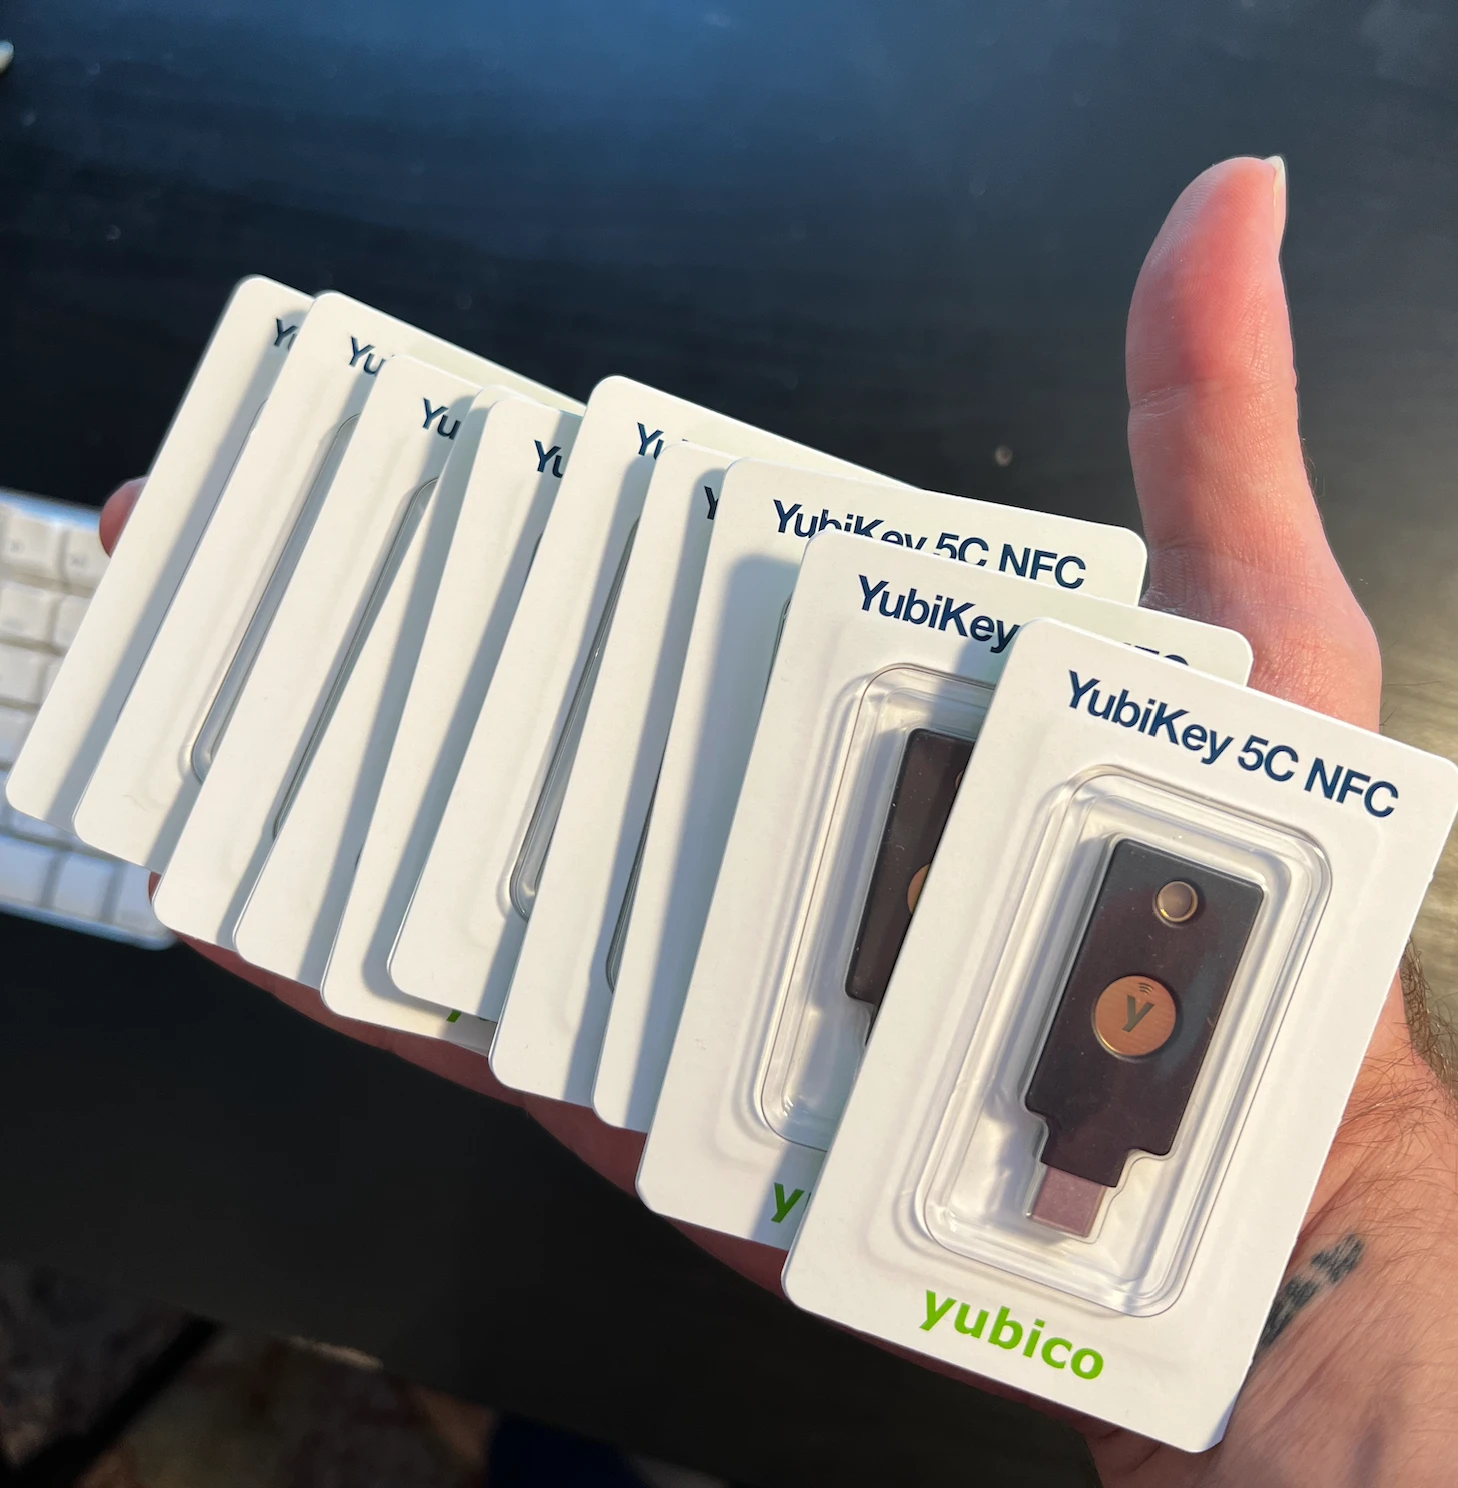
I recently had the chance to get a steep discount on five more Yubikeys, so I picked up a few Yubikey 5C NFCs:
this @Cloudflare/@Yubico promo is no joke. Excited to be Yubikey Santa this year pic.twitter.com/kzrkn1vWlR
— Charlton (@chtzvt) September 29, 2022
Don’t follow me on Twitter. I’m @[email protected].
As someone who relies heavily on PKI, I was excited to explore the keys’ capabilities and took the opportunity to thoroughly research and test its features for my use cases.
Keep in mind that I am merely an enthusiastic hobbyist and not a professional PKI engineer. I make no guarantees of whether my personal choices constitute best practices. Should you choose to implement any of what I describe here, it’s your own gun and foot. If you want real-world expert examples, check out Monzo’s blog post and key ceremony runbook.
What are Yubikeys?
Yubikeys are small, portable hardware devices that provide authentication and data protection capabilities. They’re typically used as a convenient and secure alternative to passwords, and can also be used to store cryptographic keys, log into online accounts, access sensitive data, and generate digital signatures.
Yubikeys implement a variety of cryptographic standards, such as Universal 2nd Factor (U2F) and Personal Identity Verification (PIV). Yubikeys can be used with a wide range of devices, including desktop computers and smartphones, and are available in multiple form factors. Depending on model, they support various interfaces including USB-A, USB-C, NFC, and Apple’s Lightning.
There are many uses for Yubikeys. For example, a company might use Yubico’s proprietary bindings to integrate with system authentication on their managed devices, or they might use Yubico’s proprietary OTP feature to authenticate to network services.
Yubikeys are part of a larger ecosystem of cryptographic devices, including traditional smartcards and security tokens from other vendors. These devices all provide secure authentication and data protection capabilities, and many can be used in conjunction with the different standards and applications discussed here.
I’ll be focusing on Yubikeys in this post (since that’s what I own), which are particularly popular due to their durability, ease of use, and supported features and protocols.
Why Yubikeys (or any Security Key)?
Private keys, such as the SSH key you probably use to log into remote machines, are sensitive. If an attacker were to obtain your private key, they could potentially use it to access resources or perform unauthorized actions attributed to you.
We can partially protect against the risk of theft by encrypting private keys at rest to protect them (SSH passphrases are a practical example of this). But truthfully, the key least vulnerable to theft is the one not stored on disk in the first place.
This raises an essential question: How can we store a private key in a location where we can use it, without ever being able to read the key material itself? This is where security tokens come in.
In a nutshell, security tokens store cryptographic keys inside of a hardware-based “locker” with special protections against tampering. Once a key is generated or stored on the device, the private portion of the key cannot be retrieved from it. Instead, the basic idea is that the device stores keys securely and performs operations with them on your behalf.
There are several reasons why storing private keys in a security token can be useful:
Physical security: A security token is a physical device that is designed to store and protect private keys. It’s typically more difficult for an attacker to gain physical access to a security token than it is to access a computer or other device where the keys are stored, since you’re likely to have your token with you most of the time.
Tamper protection: Many security tokens are designed to detect and prevent tampering, which can help to protect the keys from being extracted or modified. Physical attacks against these devices require large amounts of time and expensive, specialized equipment.
Multi-factor authentication: This provides an additional layer of security beyond just a password. Some security tokens can require the user to provide additional authentication information, such as a PIN or biometric data, in order to activate the keys.
Portability: Security tokens are portable, which means that the keys can be taken with you and used on different devices or systems. This can be useful for scenarios where you need to access encrypted data, perform authentication on multiple devices, or use your keys on an untrusted host.
Overall, storing private keys in a physical security token provides an additional level of security and can be useful in scenarios where secure access to data and systems is important. The practical upshot is that your keys are protected from being stolen or used without your permission.
Yubikey Features
In general, Yubico categorizes their products based on form factor, physical interface, and protocol support. For example, a Yubico 5C NFC and a Yubico 5C Nano have the same cryptographic capabilities (excluding any changes to the firmware, which we’ll discuss later), but very different form factors.
Yubico sells several editions of its latest models (the 5 Series at the time of writing), as well as more “entry-level” security keys like the Security Key series which support FIDO2/Webauthn at a low price but lack the full range of functionality offered by the rest of the Yubikey line.
In this case, I’ll be sharing my experiences with the Yubikey 5C NFC. I mainly use Yubikeys for authentication with PKCS11 on my devices and for PGP.
Note that many of the features of Yubikeys I’ll be discussing are somewhat obscure, and I’ve spent many hours debugging when I’ve inevitably encountered edge cases which break them in special ways. These features are great when they work, just be prepared to dig deep when they don’t.
PKI
Public Key Infrastructure (PKI) is a system of digital certificates, certificate authorities (CAs), and public key encryption that is used to secure communication and establish the authenticity of digital transactions. PKI works by using a pair of cryptographic keys: a public key, which is used to encrypt data, and a private key, which is used to decrypt it. These keys are typically generated and managed using a digital certificate issued by a Certificate Authority, and certificates themselves are stored in a serialized format (typically X.509).
PKI is used in many applications, including email (PGP & S/MIME), on the web (HTTPS & SSL Client Authentication), and for other uses like code signing or authentication. It’s often used in corporate and government networks and is an essential component of many modern security systems.
So long as you have the public keys of the root and intermediate certificates in a chain of trust, you can prove the authenticity of a certificate you’ve never seen before (but not necessarily whether it should be considered valid, more on that later).
Since I use my own CA, my Yubikey deployment model has a unique requirement: to properly access my homegrown PKI, I can’t generate certificates on the device itself. On a secure system, I hold a small key ceremony to generate the necessary PIV certificates using my intermediate CA’s private key and load them onto my Yubikey.
On my home network, my X.509-based PKI deployment looks something like this:
                                          Root CA
                                             |
           +---------------------------------+----------------------------------+
           |                                 |                                  |
           V                                 V                                  V
    Intermediate CA (A)       Intermediate Identity CA (A)       Intermediate Identity CA (B)
           |                                 |                                  |
           V                                 V                                  V
     TLS Leaf Certs                 Human  Credentials            Device Authentication Certs
      (HTTPS, etc)                  (PIV, S/MIME, etc)               (EAP-TLS, mTLS, etc)
You might notice two key details:
- There’s a multi-tier hierarchy,
- It looks like a tree.
Why Have Multiple Certificate Authorities?
In the real world, certificate authorities (as in, the companies themselves) maintain a series of CA Certificates with varied purposes and lifespans. The Root Certificate (at the top of the heirarchy or root of the tree) is the lifeblood of the CA’s business, and the public key of this root certificate is what’s distributed in the trust stores of operating systems and browsers.
You’ll notice I have three separate certificate authorities under my root certificate:
- One for TLS certificates,
- Another for human credentials,
- A third for machine credentials.
There are a few reasons why a certificate authority (CA) might have multiple certificate authorities.
To issue different types of certificates: Different certificate authorities within a CA might be responsible for issuing different types of certificates, such as SSL/TLS certificates for secure websites, email certificates for secure email, and code signing certificates for software developers.
To support customer needs: Some organizations (especially in government) have specific requirements around permitted signature algorithms, key sizes, and so on. A CA may have several certificate authorities to support these varied needs.
To improve security: Having multiple certificate authorities can improve the security of the certificate issuance process. The breach of a given CA certificate only impacts that certificate and any certificates issued by it. This means if one certificate authority is compromised, other certificate authorities can continue to operate and issue valid certificates.
To support different regions: A CA might have different certificate authorities to support clients in different regions of the world. This can help to ensure that the certificate issuance process is efficient and localized to the needs of clients in different regions.
In my small-scale use case, points 1 and 3 are the most pertinent. Along with PIV credentials, I also issue certificates for other purposes, such as HTTPS and RADIUS with EAP-TLS. I implement this PKI through my own certificate authority (CA) and deploy it everywhere, from macOS and Linux computers to mobile devices managed by MDM.
Leaf vs. CA Certificates
There are two main types of certificates, Leaf and CA certificates. All certificates contain information about the entity they are issued to, such as the entity’s name, domain name, and public key. They also contain the signature of the issuing CA, which allows them to be validated as authentic.
Trust in this model is transitive: When checking the validity of a leaf cert, a path validation algorithm is used to establish trust back to the root:
In a hierarchical PKI, a certificate chain starting with a web server certificate might lead to a small CA, then to an intermediate CA, then to a large CA whose trust anchor is present in the relying party’s web browser. In a bridged PKI, a certificate chain starting with a user at Company A might lead to Company A’s CA certificate, then to a bridge CA, then to company B’s CA certificate, then to company B’s trust anchor, which a relying party at company B could trust.
(Certification path validation algorithm, Wikipedia)
Leaf Certificates
Leaf certificates (also known as end-entity certificates) are digital certificates issued to individuals or organizations for the purpose of authenticating their identity. They are called “leaf” certificates because they’re at the end of the certificate chain (the “leaves” of the PKI tree hierarchy) and cannot be used to sign certificates.
Leaf certificates are used in a variety of contexts, including securing connections with SSL/TLS, signing emails with S/MIME, and authenticating software developers for code signing.
CA Certificates
A CA certificate (also known as a root certificate or trust anchor) is a digital certificate issued by a certificate authority (CA). The purpose of a CA certificate is to establish trust between the certificate authority and other parties, such as users or devices, that rely on the CA to issue and validate digital certificates.
CA certificates are used to verify the authenticity of other certificates issued by the same CA. When a CA issues a certificate to an individual or organization, it signs that certificate with its private key, which can the be verified using the corresponding public key of the CA certificate. This allows users and devices to trust the authenticity of the certificate and the identity of the entity it is issued to.
CA certificates are stored in web browsers, operating systems, and other software applications as a trusted root store. This allows users and devices to automatically trust the authenticity of any digital certificates issued by the CA without having to manually verify them. Unless the CA certificates are present, however, it’s not possible to fully validate leaf certificates.
Validity & Revocation
Sometimes, through malice or incompetence, certificate authorities misbehave and issue fraudulent certificates.
Unfortunately there are limits to what’s possible with PKI alone. Although we can validate the authenticity of a given certificate if it’s signed by a party we trust (Authentication), we can’t necessarily be sure whether a given certificate should still be considered valid, in the event it were improperly issued or had its private key compromised (Authorization).
Revocation describes the act of invalidating certificates prior to their specified expiration. To date, Certificate Authorities have approached the problem of revocation using a few different strategies:
Have clients query a network service every time a certificate is validated
OCSP validation often “soft-fails” if the OCSP service is unreachable or unavailable, which is not the greatest design.
Make a big list of revoked certificates, sign it, and distribute copies to clients ahead of time
- There’s also now CRLite, which is essentially CRLs compiled into a more compact and efficient form.
Publish a list of CAs allowed to issue certificates for a given domain
- Certification Authority Authorization (CAA) records, which can be configured in DNS to prevent certificate mis-issuance.
Keep an ongoing public ledger for every certificate issued
Certificate Transparency logs.
- No, CT doesn’t use blockchain.
As a general rule of thumb, the window of opportunity to use stolen private keys is as wide as the lifetime of the certificate, which may be as long as a few years or as short as a single operation. While there are certain mechanisms provided by X.509 to place limitations on the scope and use of certificates (for example the ExtendedKeyUsage extension), in practice the key strategy for secure PKI comes through short-lived certificates which are continuously re-issued.
An Aside on extendedKeyUsage Pitfalls
I made a small mistake in the extendedKeyUsage field when provisioning my root certificate, which caused vanilla OpenSSL to reject my CA certificates entirely, with a very obtuse and unhelpful error message. I eventually figured out the problem and was able to fix it by compiling nginx against BoringSSL, which is actually sane.
Mistakes in the extendedKeyUsage field are common enough that some SSL/TLS implementations ignore it entirely when validating certificates. A good example of this is the crypto/x509 package in Go’s standard library, which intentionally ignores KeyUsage status flags when validating x509 certificates.
Using PIV
PIV (for “Personal Identity Verification”) is a standard created by the National Institute of Standards and Technology (NIST) for identifying and authenticating individuals who are granted access to federal facilities and information systems. It’s based on the ISO/IEC 7816 standard for smart cards and specifies the use of smart cards to store and transmit identity information backed by a suite of cryptographic certificates.
PIV defines requirements for the issuance, management, and use of PIV cards (smart cards), which contain certificates issued on behalf of an individual and may optionally contain additional biometric and biographic data about the cardholder. PIV cards are then used to verify the identity of the cardholder and authenticate them when accessing online resources or when using physical access control systems.
PKCS#11 (Public-Key Cryptography Standards #11) is a standard that defines an API for interacting with cryptographic hardware tokens, such as smart cards and hardware security modules (HSMs). The PKCS#11 standard was developed by RSA Laboratories, a division of RSA Security, and is now maintained by the OASIS PKCS11 Technical Committee.
PKCS#11 can be used in conjunction with PIV to provide a standard interface for interacting with PIV cards, and is a widely accepted standard supported by many hardware token manufacturers and software vendors. The standard is used by a wide range of applications, including web browsers, email clients, and other software that need to use cryptographic hardware tokens, and provides standard interfaces to support generating, storing, and managing keys, as well as performing cryptographic operations such as encryption, decryption, and signing and verifying data.
Local User Authentication
As mentioned earlier, Yubikeys implement the PIV specification and these capabilities can be used for local authentication. This is natively supported on macOS, which launches a graphical pairing utility when an unpaired smartcard is inserted. On Linux, you need to use something like pam_pkcs11 with the necessary manual configuration, certificate chain, CRLs, etc., to support this.
Speaking of macOS, the platform has particularly strong integration with smartcards. You can use an attached smartcard to log in, for signing binaries in Xcode or Apple Configurator, and for S/MIME in Apple Mail right out of the box.
SSL Client Authentication
Another useful aspect of PKCS11 is that it allows you to use smartcards for SSL client authentication, which you can then use to secure access to web-based applications. This is natively supported in Safari and configurable in Chrome and Firefox, and relatively straightforward to support on most web servers.
SSL client authentication, also known as client-side SSL authentication or mutual SSL authentication, is a type of authentication that occurs during the SSL/TLS handshake process. With SSL Client auth, the client presents a digital certificate to the server as proof of identity, which is then verified before allowing the client to establish a connection.
SSL client auth is often used in situations where strong security is required, such as in the defense and financial sectors. It’s also commonly used for authenticating connections between machines (as with Cloudflare’s authenticated origin pulls).
SSL Client Auth on Web Servers
I use the following nginx configuration to support SSL client authentication:
# To use, include this file in your Nginx configuration.
# Make sure that you're using the NOPE vendored Nginx
# compiled with BoringSSL, available from hiro.pkg.nhq, and that
# the necessary CA certs are installed in /etc/ssl/private/

# include /etc/nginx/ssl_client_cert.conf;

# Debugging note: mod_mail and mod_stream are broken when compiling nginx with BoringSSL.
# If necessary, disable these modules should nginx fail to start:
# unlink /etc/nginx/modules-enabled/50-mod-mail.conf; unlink /etc/nginx/modules-enabled/50-mod-stream.conf

ssl_client_certificate "/etc/ssl/private/Nation of Planet Earth Intermediate Identity CA (A).pem";
ssl_trusted_certificate "/etc/ssl/private/Nation of Planet Earth Root CA.pem";
ssl_verify_depth 3;
ssl_verify_client on;

if ($ssl_client_verify != "SUCCESS") { return 403; }
This configuration specifies two X.509 certificate files, which are used to verify the authenticity of SSL client certificates. The ssl_client_certificate directive specifies the location of the intermediate certificate authority (CA) certificate, while ssl_trusted_certificate specifies the location of the root CA certificate.
The ssl_verify_depth directive specifies the maximum depth for certificate chain verification. In this case, the value of 3 means that Nginx will verify up to three certificates in the chain of trust. ssl_verify_client then requires client authentication.
Finally, the if statement checks the value of the $ssl_client_verify variable. If the value is not “SUCCESS”, this indicates that the client certificate was not successfully verified, and Nginx will return a 403. Thus, only clients with valid certificates are able to access protected resources.
Note: Since you’re not on my home network, you can ignore the bit about using the the NOPE-vendored Nginx. I had a very specific reason for packaging my own Nginx builds internally, but it’s probably something you don’t need to worry about except for specific cases.
SSL Client Auth in Browsers
The DoD has published instructions on how to set up smartcard authentication with various browsers.
Note: If you’re experiencing issues with client certificates in Firefox from v75 on, check out the tip below:
firefox/macOS PKI tip: if your root CA certs are in keychain, security.enterprise_roots.enabled is true, yet Firefox refuses to trust OR import them, it's probably related to os client cert autoloading (https://t.co/JlNWaLSW2L) pic.twitter.com/3UgvElK5Zz
— Charlton (@chtzvt) August 24, 2022
SSH with PIV
Another great use for Yubikeys and smartcards in general is SSH authentication. It turns out that the PIV authentication certificate stored in slot 9a can be used for this purpose, as long as you export the public key of the certificate in the format that SSH expects. You can read more about configuring SSH with PIV at Yubico’s documentation.
Once you’ve generated/imported an SSH key and copied your public key to the destination host, you’re almost done. All that’s left now is to make a few changes to your ssh client configuration file.
Here’s an excerpt from my ~/.ssh/config file. Note that PKCS11Provider appears on multiple lines. This is not a mistake: depending on the platform, Yubico’s PKCS11 provider (libykcs11) will be installed in different locations on your system. While you can certainly use the built-in PKCS11 libraries included with your OS, I have generally had better experiences using libyks11.
Host *
  IgnoreUnknown UseKeychain
  UseKeychain yes
  AddKeysToAgent yes
#  PKCS11Provider /usr/lib/x86_64-linux-gnu/libykcs11.so
  PKCS11Provider /usr/local/Cellar/yubico-piv-tool/2.2.0/lib/libykcs11.2.2.0.dylib
#  PKCS11Provider /usr/local/lib/libykcs11.dylib
  IdentitiesOnly yes
  IdentityFile ~/.ssh/id_yubikey.pub
Another important aspect of this configuration excerpt is the IdentitiesOnly/IdentityFile directives. Since OpenSSH v8.6p1, specifying IdentitiesOnly yes with IdentityFile pointing to your public key will enforce the use of PKCS11 by default.
Before OpenSSH 8.6p1, I was unable to fully use this feature because it did not support FIDO2/ECDSA/Ed25519 keys. I tried to work around this by installing OpenSSH via Brew, but I had difficulty setting permissions on ssh-agent’s AUTH_SOCK in launchd. However, with macOS Monterrey, the version of OpenSSH shipped with the system should support these key types out of the box.
You also have the option of replacing your stock ssh-agent with alternatives such as Filippo Valsorda’s yubikey-agent. Personally, I prefer to use the stock agent and manage my own key material/device configuration.
PIV + NFC
One final thing to note about PIV on NFC-enabled Yubikey series is that the NFC interface is also available for PIV operations, including physical access control. However, all slots are exposed over the NFC interface, which goes against the NIST PIV spec and is probably less secure. This has been a known issue for several years.
Using PGP
PGP (Pretty Good Privacy) is a data encryption and decryption standard that uses public-key cryptography to secure electronic communication. It was originally developed in the early 1990s as a way to provide secure communication over the internet.
PGP has a decentralized, non-hierarchical trust model (the Web of Trust) where individuals generate their own public/private keypair rather than requesting one from a certificate authority. Rather than placing trust in a central issuer, PGP users establish trust through a decentralized key signing process where individuals essentially vouch for someone’s identity by attaching their own signature to that person’s public key. These signatures are then uploaded to keyservers or WKD for public distribution.
PGP is different from PIV, in that PIV is tied to a more centralized and hierarchical PKI model typically seen with corporate and government environments and in my internal PKI. For external communication (such as signing email and Git commits), I use PGP with my public key. This tends to be easier for people to work with, and I don’t have to distribute my root CA certificate for them to verify my signatures.
Yubikeys fully support both PIV and PGP, you can apply each of these to similar use cases (signing/encryption, authentication, etc). They expose a standard interface over USB that mostly just works with PGP tools.
You can use your preferred PGP toolchain to perform PGP operations on your local system, including:
- Signing, encrypting, and decrypting
- Signing Git commits (I use this a lot)
- Signing and encrypting emails
- Signing and encrypting files
- Authenticating with SSH (though I prefer PIV for this)
You can read more about setting up PGP on your Yubikey at Yubico’s knowledge base.
Signing Commits
Git natively supports signing your commits with PGP. I’ve written about the importance of and security considerations around commit signing in the past.
After setting up PGP on your Yubikey and system, add the following to your ~/.gitconfig and you’re ready to start signing:
[user]
  ...
  signingKey = your key here
[gpg]
  program = gpg
[commit]
  gpgsign = true
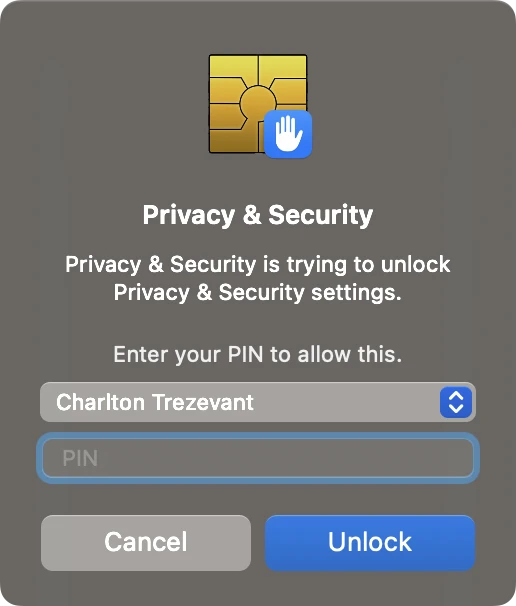
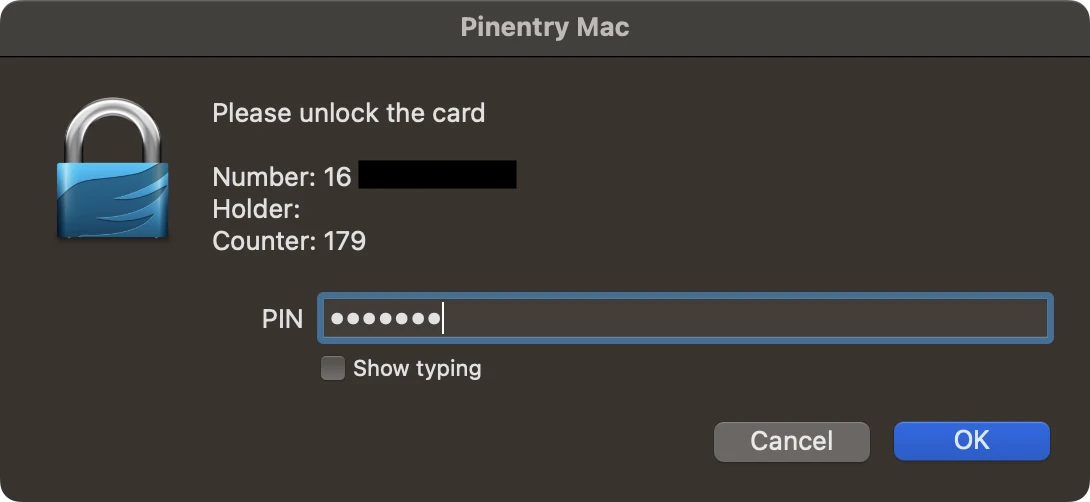
Most graphical programs will prompt for your PIN when needed. Here are some examples from my Mac.
An aside on scdaemon
It’s worth noting that there have been issues in the past with getting GnuPG’s scdeamon to work alongside other software on the system that uses the Yubikey, even when that software uses a different applet (e.g., ssh-agent using the PIV slot while gpg-agent uses the OpenPGP slot). This is due to arbitrary limitations in scdaemon, which accesses the Yubikey in PCSC_SHARE_EXCLUSIVE mode and maintains an exclusive lock on the card, preventing ssh-agent and other applications from using it at all, even for other applets like PIV.
To work around this issue on macOS, you need to use gpgtools with a platform-specific scdaemon configuration directive. Until recently, the only workaround for this problem was to patch scdaemon to enable shared access to the smartcard by patching scdaemon directly to open the smartcard in PCSC_SHARE_SHARED mode:
The GPGTools folks maintain their own patch.
The Arch folks also maintain one in AUR.
The NitroKey FAQ outlines an scdaemon patching guide.
While the GPG developers have historically been allergic to the idea of changing this particular aspect of scdaemon, it appears that a new flag for enabling shared access has finally been added to GPG2 versions above 2.3: “--pcsc-shared”:
--pcsc-shared
Use shared mode to access the card via PC/SC. This is a somewhat dangerous option because Scdaemon assumes exclusive access to the card and for example caches certain information from the card. Use this option only if you know what you are doing.
You can also add the “pcsc-shared” directive to your ~/.gnupg/scdaemon.conf file. Here’s mine:
#disable-ccid
#card-timeout 5

# Always try to use yubikey as the first reader
# even when other smart card readers are connected
# Name of the reader can be found using the pcsc_scan command
# If you have problems with gpg not recognizing the Yubikey
# then make sure that the string here matches exacly pcsc_scan
# command output. Also check journalctl -f for errors.
reader-port Yubico YubiKey

#need gpg2 2.3+
pcsc-shared
Keep in mind that the version of gpg2 shipped on my Ubuntu Jammy system is 2.2.27, so you may need to build your own more recent version of gpg2 or run killall gpg-agent or gpgconf --kill scdaemon until 2.3+ becomes available in your distribution’s package repositories.
This interface is also available over NFC, but I have disabled it because I don’t have a use case for it.
Full-Disk Encryption
On Linux, you can use your Yubikey to unlock encrypted disks using yubikey-luks or systemd-cryptenroll with FIDO2.
On macOS, Apple Silicon devices natively support the use of smartcards, including Yubikeys, for unlocking FileVault disks. Intel Macs sadly do not permit this.
On Windows devices, you can use Yubikeys with Bitlocker.
FIDO/U2F/Webauthn
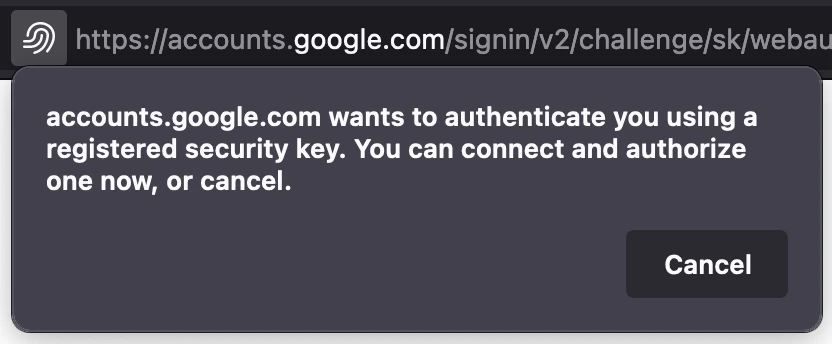
FIDO2, which includes U2F and Webauthn, is a security standard that allows you to use your Yubikey to authenticate online accounts. The NFC interface, which is natively supported on Android and iOS, is also available for FIDO2.
With the release of OpenSSH 8.6p1, you can also use FIDO2 to authenticate SSH sessions in place of a normal SSH key.
TOTP, OTP, And More
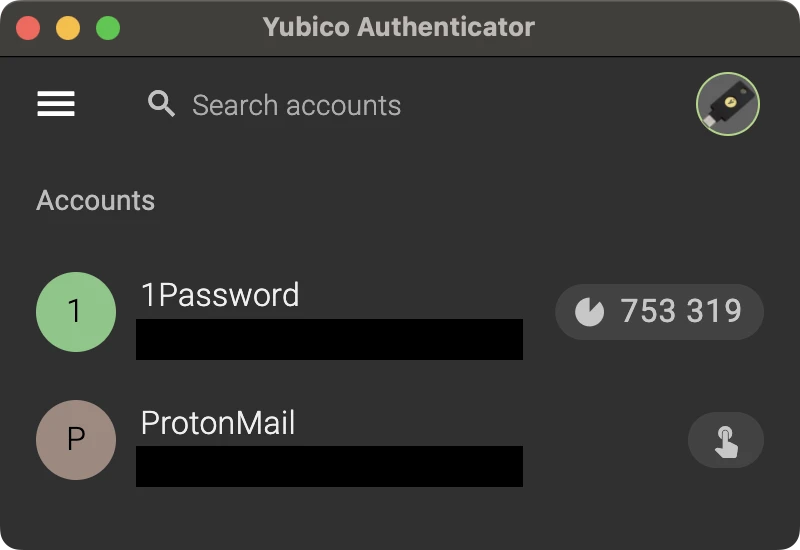
The Yubikey also has a number of features for generating one-time passwords (OTPs), including support for TOTP. You can load your TOTP secrets into the Yubikey and access the key’s token generator via Yubico Authenticator, which is available on Android, iOS, and supports lightning (on the 5Ci), USB-C, or NFC.
In addition to OTP generation, the Yubikey also has a feature for storing static passwords. This allows you to store an arbitrary string in the Yubikey that can be accessed with presses of varying lengths. This can be used for things like storing a fragment of your password manager’s secret key or a rubber ducky payload. It’s a simple but extremely useful feature.
Device Configuration Tools
The Yubikey has a number of device-specific configuration options and policies that you can implement using tools like ykman and yubico-piv-tool. These tools allow you to customize the device’s behavior in a number of ways, such as enabling touch caching, setting up certificates, and so on. These options can be useful for fine-tuning the behavior of your Yubikey to meet your specific needs.
Yubico PIV Tool
Yubico provides a helpful command-line utility, yubico-piv-tool, to manage and configure the PIV applet on Yubikeys.
Yubico-piv-tool can be used to perform useful tasks, including:
- Enrolling and managing PIV certificates
- Setting the PIV PIN and Management Keys
- Generating and signing certificates and certificate requests
- Importing and exporting public keys
- Viewing the PIV applet status
- Signing and encrypting data or files
- Resetting the PIV application on the YubiKey
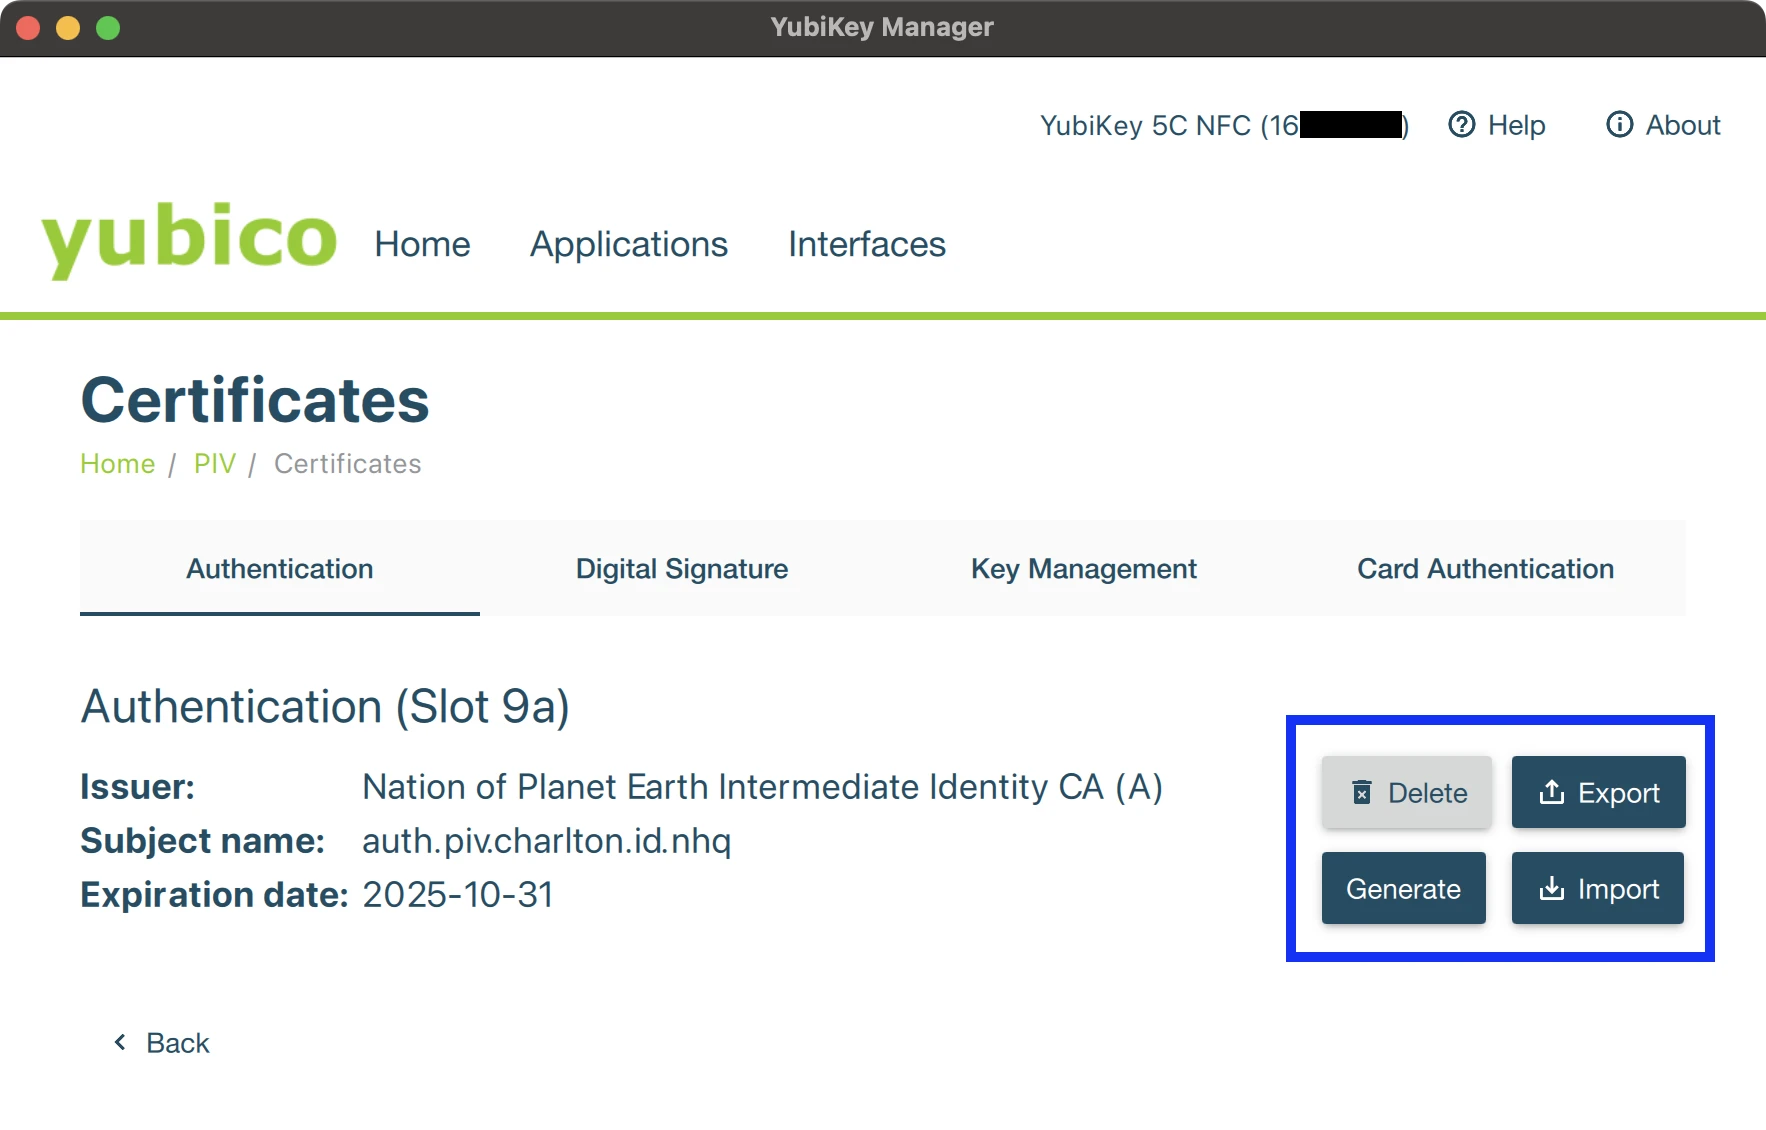
The status subcommand, shown below, enables you to query the certificates loaded into each PIV slot on the key.
$ yubico-piv-tool -a status
Version:  5.4.3
Serial Number:  16...
CHUID:  30...
CCC:  f0...
Slot 9a:
  Algorithm:  ECCP384
  Subject DN: CN=auth.piv.charlton.id.nhq, O=Nation of Planet Earth, OU=nopeHQ, ST=Florida, C=US, L=Seminole/[email protected]
  Issuer DN:  CN=Nation of Planet Earth Intermediate Identity CA (A), O=Nation of Planet Earth, OU=nopeHQ, ST=FL, C=US, L=Orlando/[email protected]
  Fingerprint:  14c70a5fc8665124a35dda2655e867797895bd378e64b2c8ea75ffe3db2b34bc
  Not Before: Jul 12 21:56:03 2021 GMT
  Not After:  Oct 31 21:56:03 2025 GMT
Slot 9c:
  Algorithm:  ECCP384
  Subject DN: CN=sig.piv.charlton.id.nhq, O=Nation of Planet Earth, OU=nopeHQ, ST=FL, C=US, L=Seminole/[email protected]
  Issuer DN:  CN=Nation of Planet Earth Intermediate Identity CA (A), O=Nation of Planet Earth, OU=nopeHQ, ST=FL, C=US, L=Orlando/[email protected]
  Fingerprint:  6f4595a89d985a3a502e8f7fc73f91eec8c9fde7fb6a2c51490e2c94fd16ad18
  Not Before: Jul 12 22:10:54 2021 GMT
  Not After:  Oct 31 22:10:54 2025 GMT
Slot 9d:
  Algorithm:  ECCP384
  Subject DN: CN=mgmt.piv.charlton.id.nhq, O=Nation of Planet Earth, OU=nopeHQ, ST=FL, C=US, L=Seminole/[email protected]
  Issuer DN:  CN=Nation of Planet Earth Intermediate Identity CA (A), O=Nation of Planet Earth, OU=nopeHQ, ST=FL, C=US, L=Orlando/[email protected]
  Fingerprint:  50a0629890e4d5c1929cb0d600849338df360e07fe1fc374bd13aa5c40fdfaf0
  Not Before: Jul 12 22:14:44 2021 GMT
  Not After:  Oct 31 22:14:44 2025 GMT
Slot 9e:
  Algorithm:  ECCP256
  Subject DN: CN=card.piv.charlton.id.nhq, O=Nation of Planet Earth, OU=nopeHQ, ST=FL, C=US, L=Seminole/[email protected]
  Issuer DN:  CN=Nation of Planet Earth Intermediate Identity CA (A), O=Nation of Planet Earth, OU=nopeHQ, ST=FL, C=US, L=Orlando/[email protected]
  Fingerprint:  5051affb938443bf4f77fa2644ebe0769289eb1ad434e0db45571b40db27854d
  Not Before: Jul 12 22:09:08 2021 GMT
  Not After:  Oct 31 22:09:08 2025 GMT
PIN tries left: 3
One of the most useful features of yubico-piv-tool is its ability to configure pin and touch policies. These can make working with your Yubikey somewhat easier.
$ yubico-piv-tool --help
Usage: yubico-piv-tool [OPTION]...
...
      --pin-retries=INT    Number of retries before the pin code is blocked
      --puk-retries=INT    Number of retries before the puk code is blocked
...
      --pin-policy=ENUM    Set pin policy for action generate or import-key.
                             Only available on YubiKey 4  (possible
                             values="never", "once", "always")
      --touch-policy=ENUM  Set touch policy for action generate, import-key or
                             set-mgm-key. Only available on YubiKey 4
                             (possible values="never", "always",
                             "cached")
Yubikey Manager
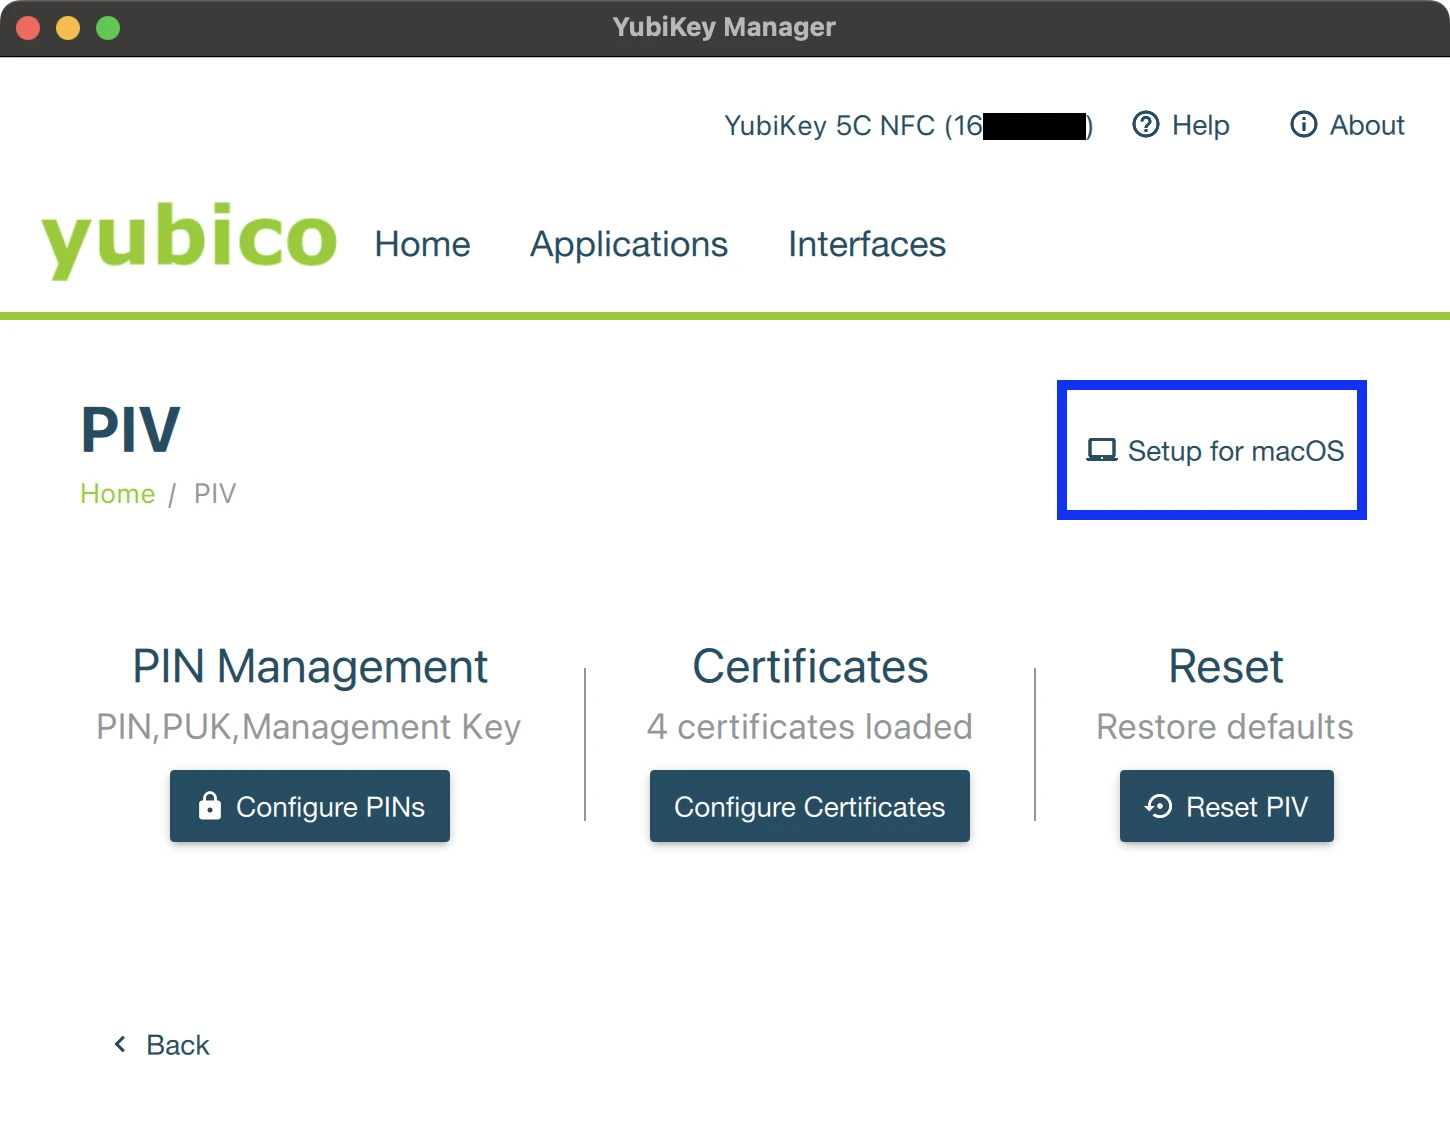
Yubico also provides the Yubikey Manager tool, which allows you to configure the FIDO2, OTP and PIV applets on your device.
Yubikey SDK
The Yubikey SDK allows developers to integrate the functionality of Yubikeys into desktop and mobile applications, and includes support for many of the features discussed earlier on. You can read more about the SDK on Yubico’s developer portal.
Further Reading
If the world of PKI and real applied cryptography excites you, consider giving the Security. Cryptography. Whatever. podcast a listen. You may also be interested in the US government’s PIV usage guides.
Glossary of Jargon
- BoringSSL: Google’s considerably more sane OpenSSL fork (link).
- CA: Certificate Authority.
- CCID: USB protocol that allows a smartcard to be connected to a computer via a card reader using a standard USB interface (link).
- EAP-TLS: IETF open standard that uses TLS, and is well-supported among wireless vendors. EAP-TLS is the original, standard wireless LAN EAP authentication protocol (link).
- ECDSA: Elliptic Curve Digital Signature Algorithm (link).
- ED25519: Fast elliptic-curve public key signature system. Less backdoors than other ECs. (link).
- FIDO2: Often used generically to refer to the FIDO Alliance Client-to-Authenticator-Protocol (CTAP) and WebAuthn standards (link).
- GnuPG: A complete and free implementation of the OpenPGP standard (link).
- HSM: Hardware Security Module.
- Key Ceremony: a procedure where a unique pair of public and private root keys is generated (link).
- LUKS: Linux Unified Key Setup, a full-disk encryption specification (link).
- MDM: Mobile Device Management.
- NFC: Near-Field Communication.
- NIST: National Institute of Standards and Technology (US).
- OTP (YubiKey): Yubico’s proprietary One-Time Password mechanism (link).
- OpenPGP: The IETF PGP standard (link).
- OpenSSL: A software library for applications that provide secure communications over computer networks (link)
- PGP: An encryption program that provides cryptographic privacy and authentication for data communication (link).
- PIV: Standard that specifies Personal Identity Verification (PIV) requirements for Federal employees and contractors (link).
- PKCS#11: One of the Public-Key Cryptography Standards. Also refers to the programming interface to create and manipulate cryptographic tokens (link).
- PKI: Public Key Infrastructure (link).
- RADIUS: Remote Authentication Dial-In User Service. Protocol providing centralized user authentication, authorization, and accounting over the network. Often used to facilitate wireless 802.1X deployments (link).
- S/MIME A standard for public key encryption and signing of MIME data, often used with email (link.
- Smart Card: A physical electronic authentication device, used to control access to a resource (link).
- U2F: Universal 2nd Factor (link).
- Webauthn: Standard for authenticating users to applications using public-key cryptography. Published and maintained by W3c and the FIDO Alliance (link).
- YubiKey: a hardware authentication device manufactured by Yubico (link).
- X.509: a standard format for public key certificates (link).
Additional Resources
CA Terminology - Mozilla Wiki.
High-reliability OCSP stapling and why it matters - Cloudflare blog.
